
Add Recipients to a Template
Recipients are the people you are wanting to either take action on the document or be copied on the document. Recipients do not need an Upsign account in order to receive or take action on the document.
When adding recipients, you can choose whether they; need to sign the document (complete fields or actually apply their signature), need to approve the document, or whether they should receive a copy.
Follow these steps to add recipients:
- Click Add Recipients from the template creation area

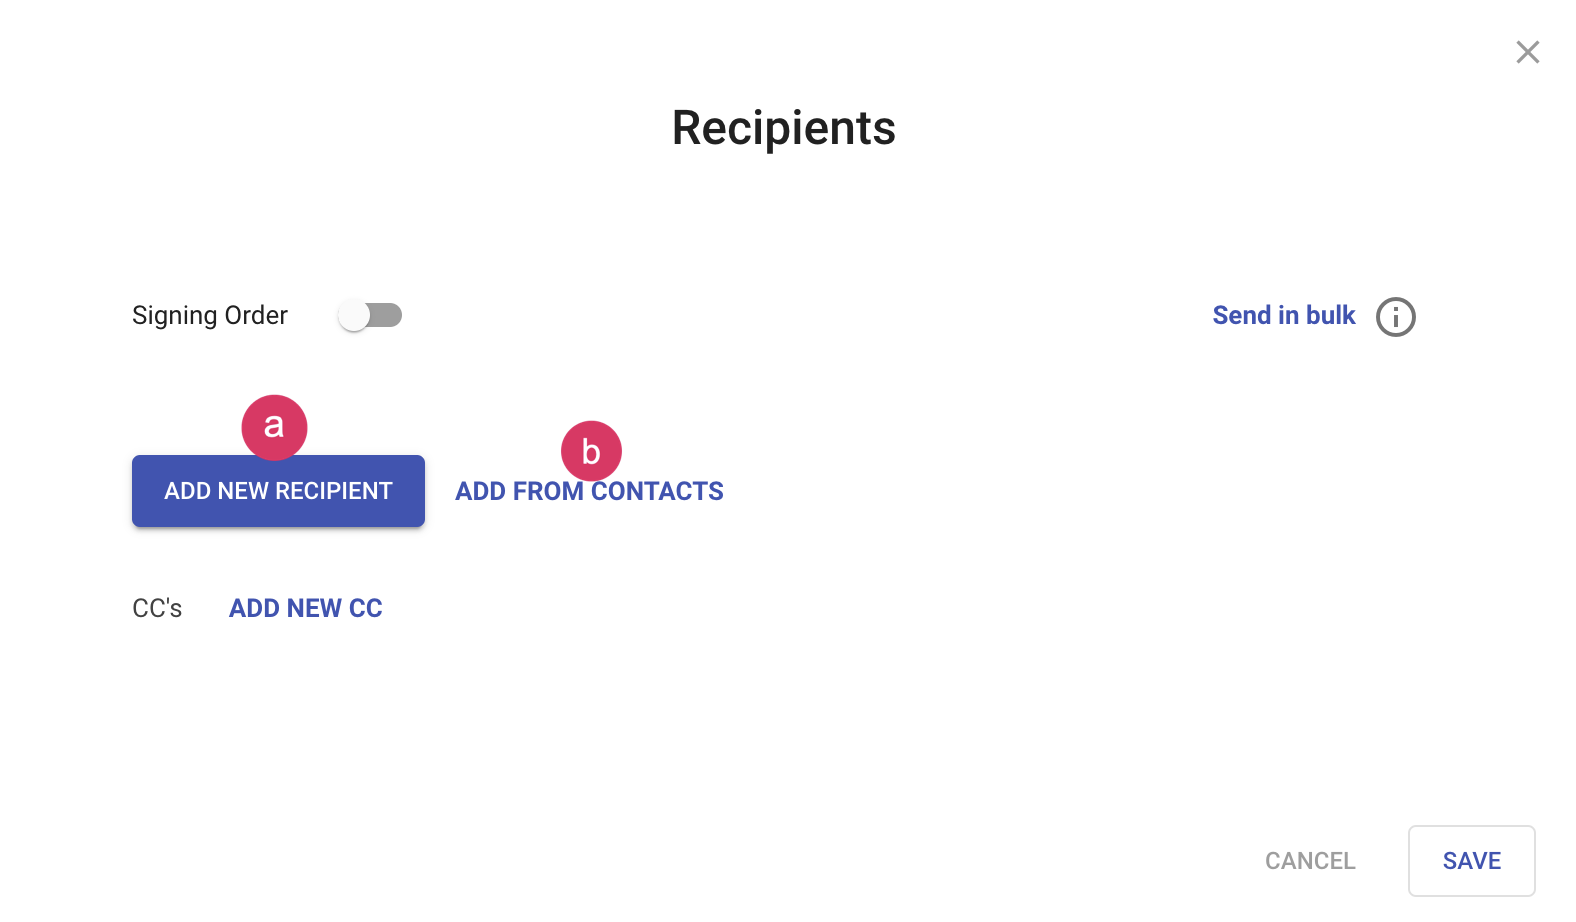
2. You can add recipients in two ways:
- Add New Recipient - Manually enter the Placeholder name and role
- Add from contacts - Choose the recipient from your contact list (if you are adding a named recipient)
3. Select the recipient role by choosing an option from the dropdown. The available recipient roles can vary based on package type.

4. Add Carbon Copy recipients - These recipients will not be able to take action on the document sent using the template. They will receive a copy of the document when it is initially sent for signature and a copy of the completed document.
5. Click Save
Next Step: Add Fields